3D studio
Map a screenshot onto a real 3D device with lighting, camera, and rotation controls.
The 3D studio renders a real, rotatable device with your screenshot on its screen — perfect for hero shots with depth.
Switch to 3D
Use the 2D / 3D toggle at the top-center of the Mockups workspace to enter the 3D studio.
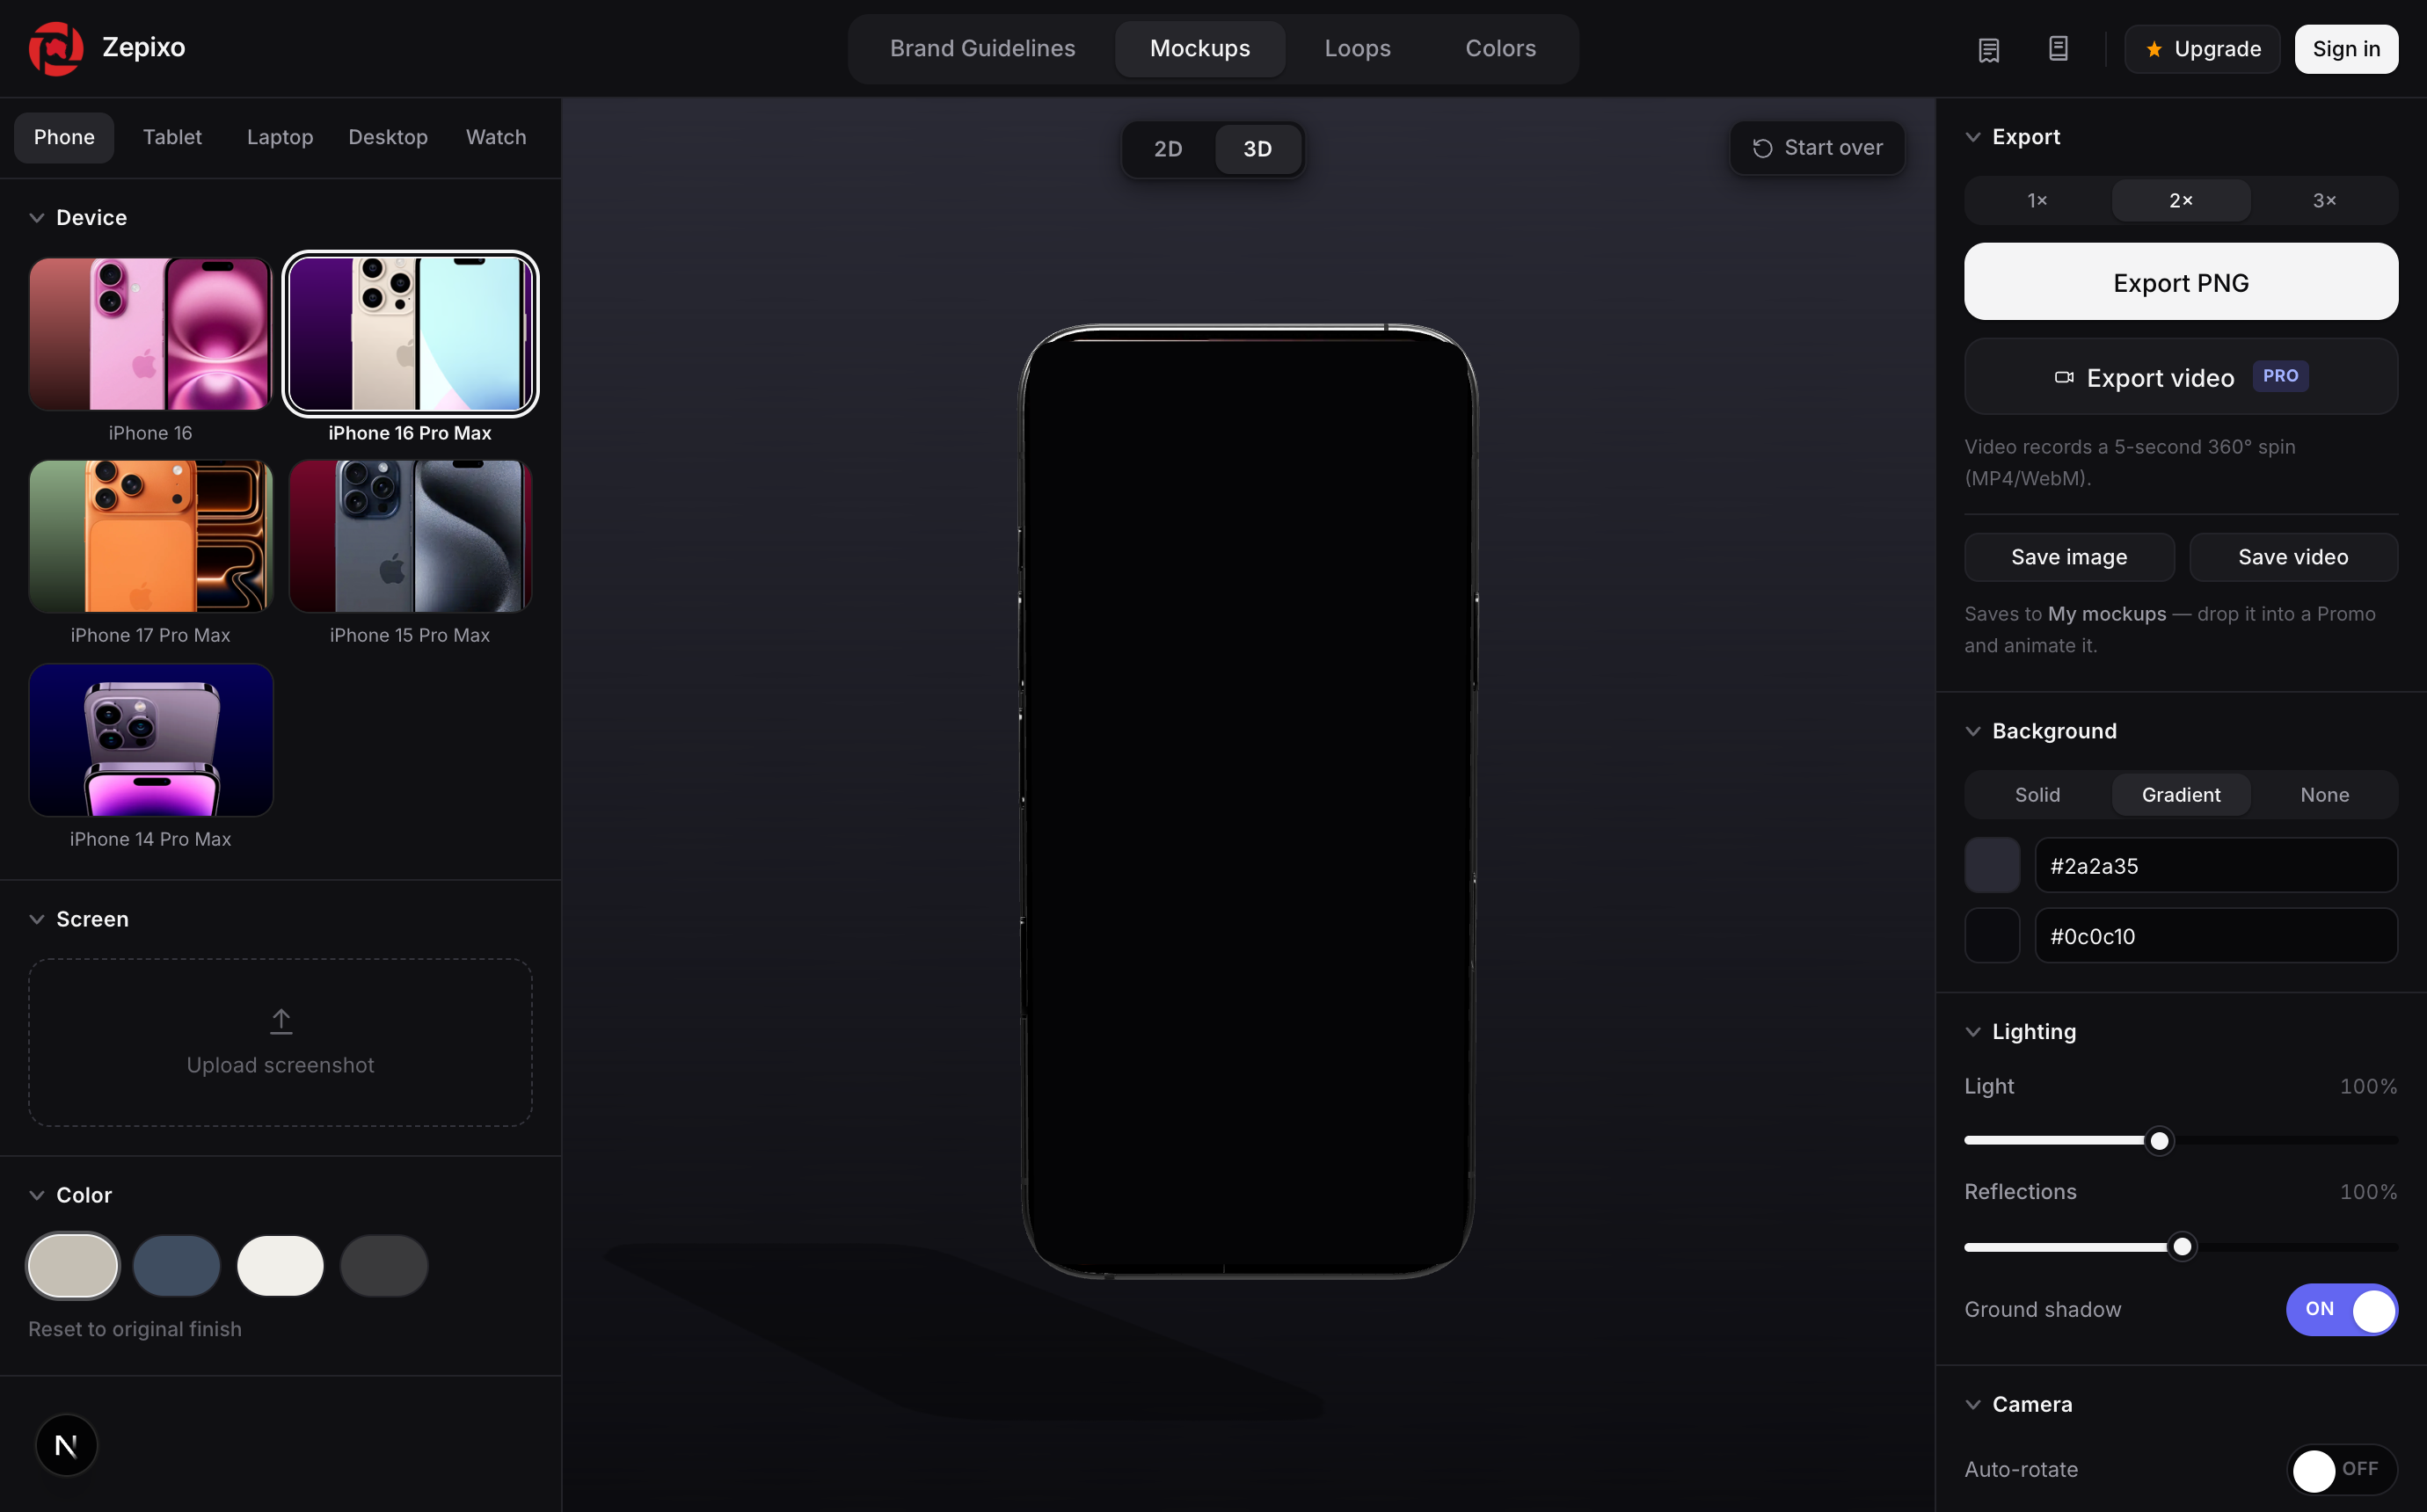
Device & screenshot
Pick a device, then upload a screenshot — it maps directly onto the device's screen, following its curvature and angle.
Body color & background
- Body color — recolor the device shell.
- Background — choose solid, gradient, or none (transparent).
Lighting
- Light — overall scene brightness.
- Reflections — how reflective the device surfaces are.
- Ground shadow — the soft shadow the device casts.
Camera
- Auto-rotate — let the device slowly spin.
- Drag to orbit, scroll to zoom, right-drag to pan.
- Reset returns the camera to its default framing.
Rotation & screen fit
Fine-tune the device's tilt and spin, and adjust screen fit so your screenshot sits exactly right within the display.
Tip
If a 3D model ever looks blank, leave and re-enter 3D to re-initialize the scene.